
First connection
Connect the client’s WhatsApp number to their company — the step that turns a signed contract into a live channel
This is the activation step. Everything before it — access collection, creating the client’s company — was preparation; everything after it — the bot, the ads, the leads — runs through the number you’re about to connect. There are two routes, depending on what the client walks in with: a brand-new number, or a number they already use in the WhatsApp Business app. Both start in the same place and take about fifteen minutes.
Before you click anything
Two permission checks decide whether this goes smoothly or dies on the authorization screen:
- In Chatfuel: you need an Admin or Editor role in the client’s company. Check in Settings.
- In Meta: the Facebook account that clicks Connect must have Full control of the client’s business portfolio — verify at
business.facebook.com/settings/people. Partner access to run ads is not enough for this step; the two ways agencies handle it (a screen-share with the client, or getting one person added with Full control) are covered in Partner access to the client’s portfolio.
If you’re doing this on a screen-share with the client — the most common setup for a first connection — have them log in to Facebook before the call starts. Half the delays are password resets.
The one step the AI Co-Worker can't do
Connecting a number requires authorizing with Meta in a real Facebook account, so the Co-Worker can’t complete it for you — this is one of the few hands-on steps in the product. It can take you straight to the right screen: ask it to open the WhatsApp connection settings.
Which number does the client have?
New number
Existing WhatsApp Business App number
Use this route when the client is dedicating a fresh number to the bot — nothing to migrate, cleanest setup.
Start the connection
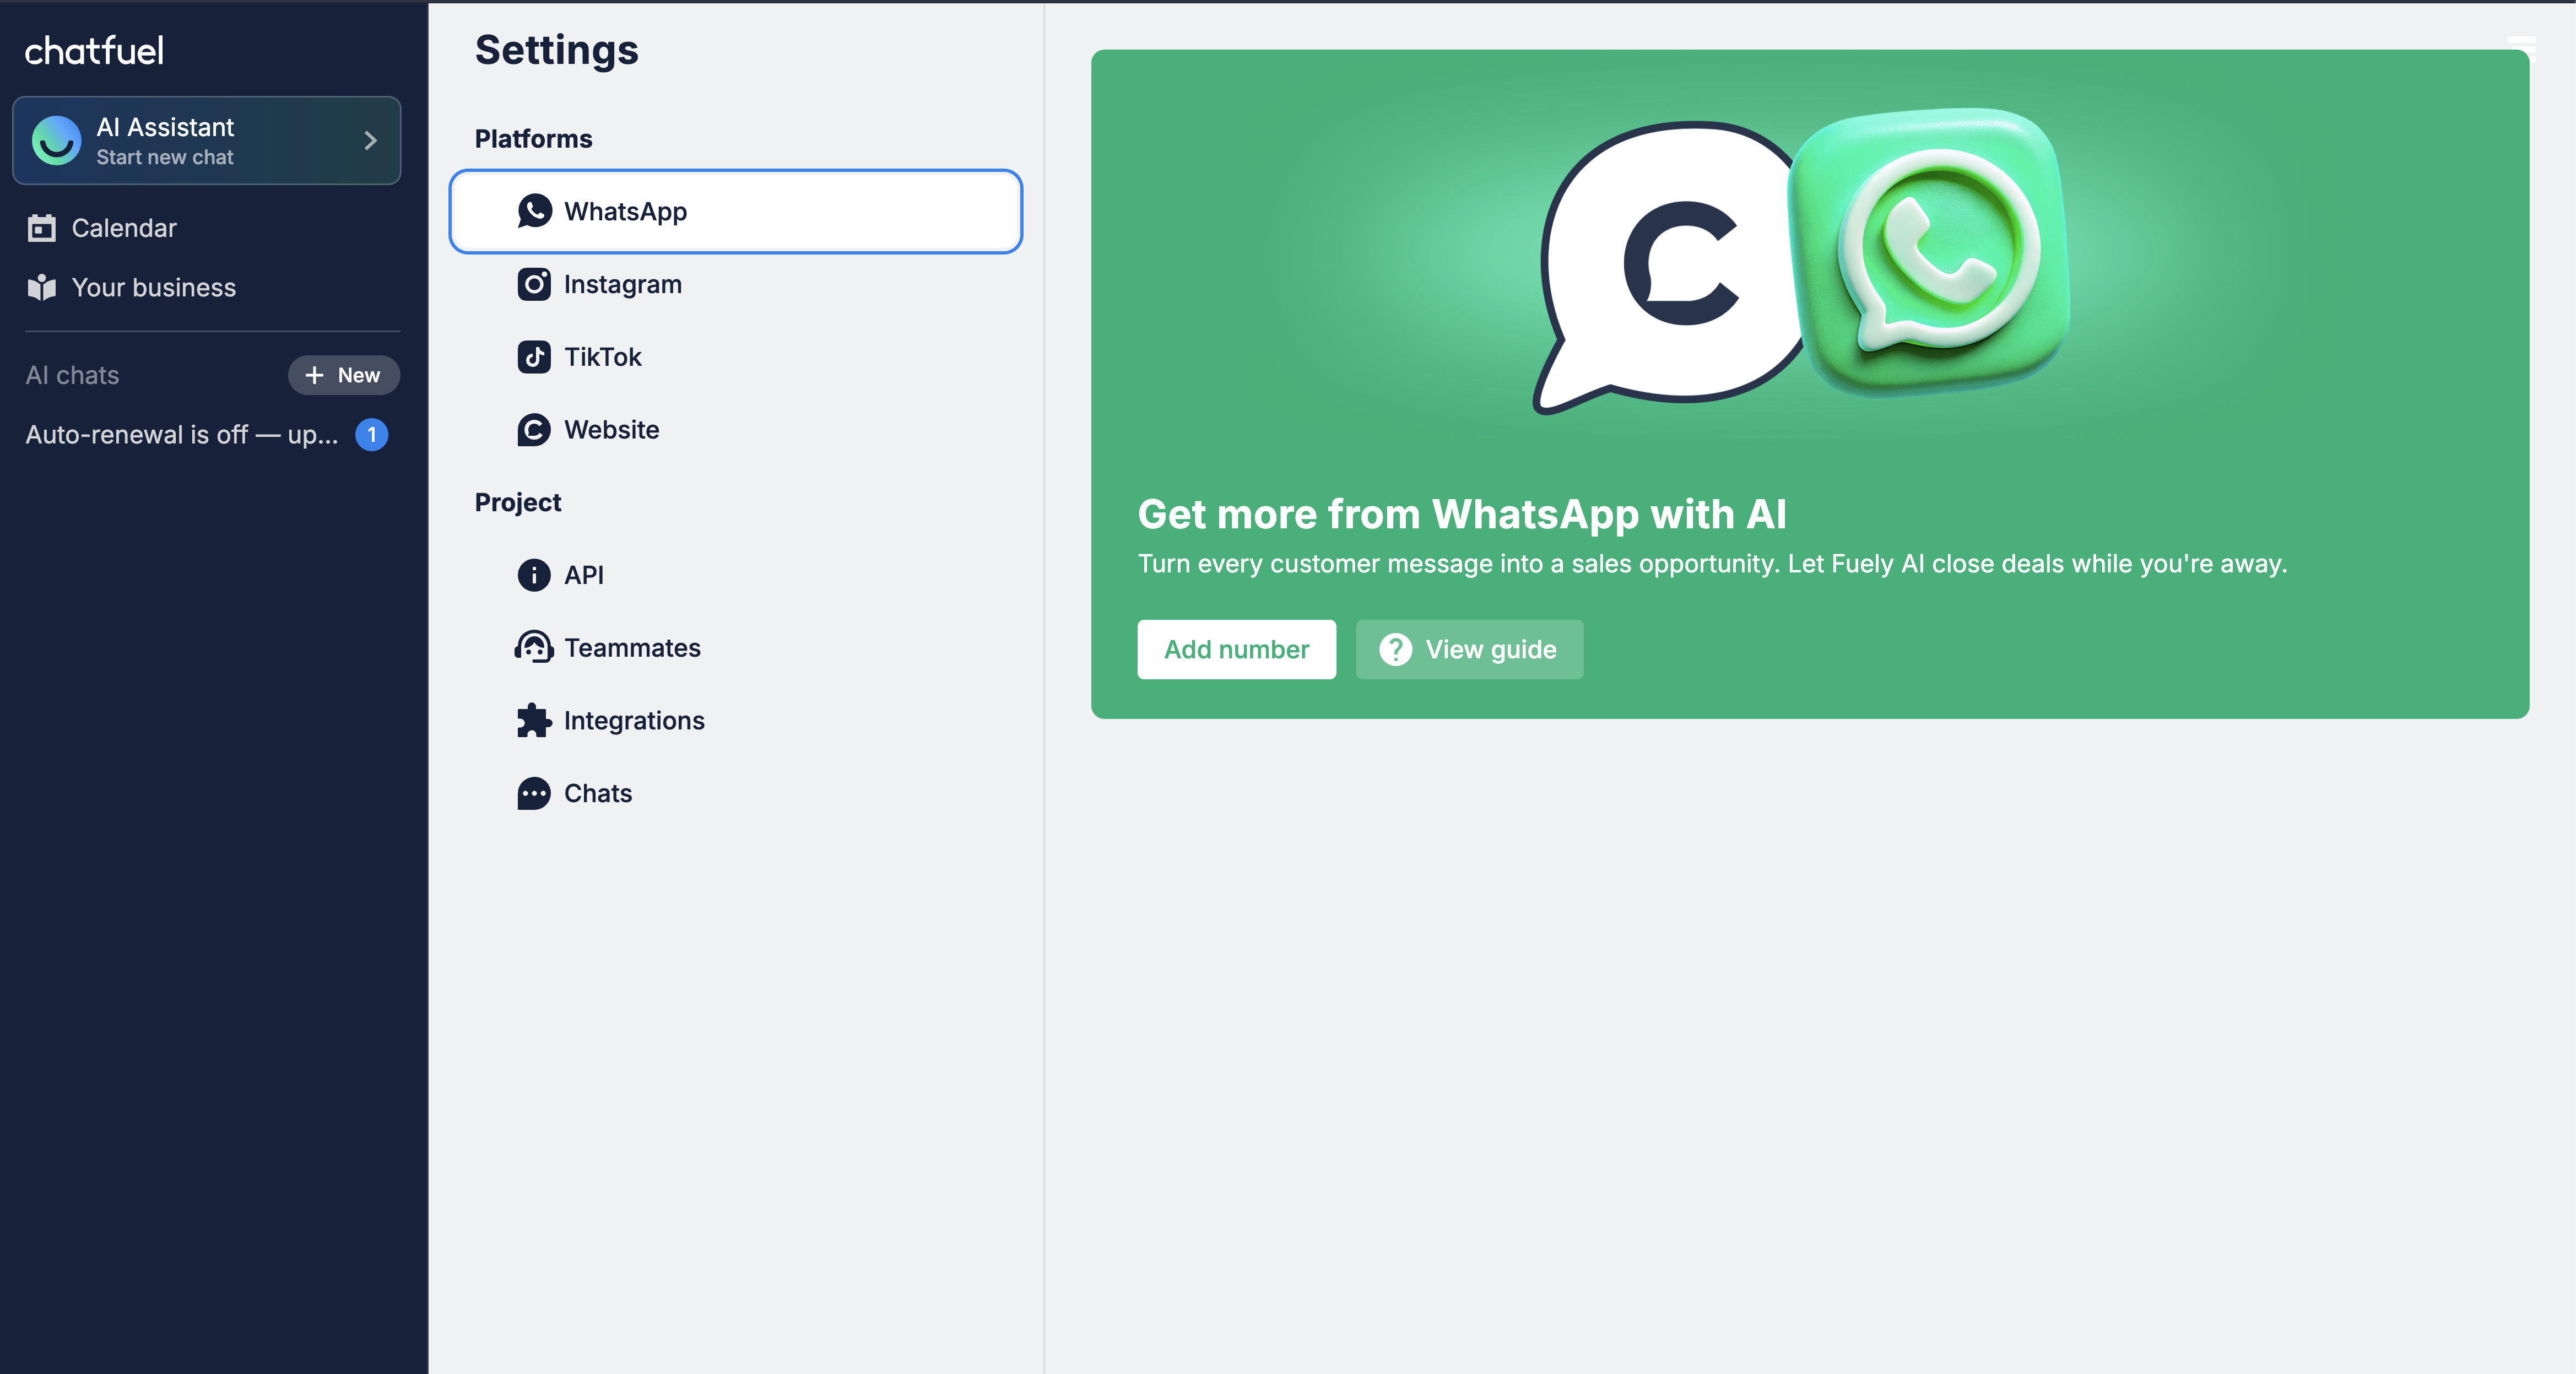
In the client’s company, open Settings in the left sidebar and click Add number in the WhatsApp section. Log in to Facebook and authorize Chatfuel.
Pick the client’s portfolio
Select the client’s existing business portfolio (or create one — if you’re building the client’s Meta presence from scratch, follow When the client has nothing set up first). Then choose Create a WhatsApp Business account and click Next.
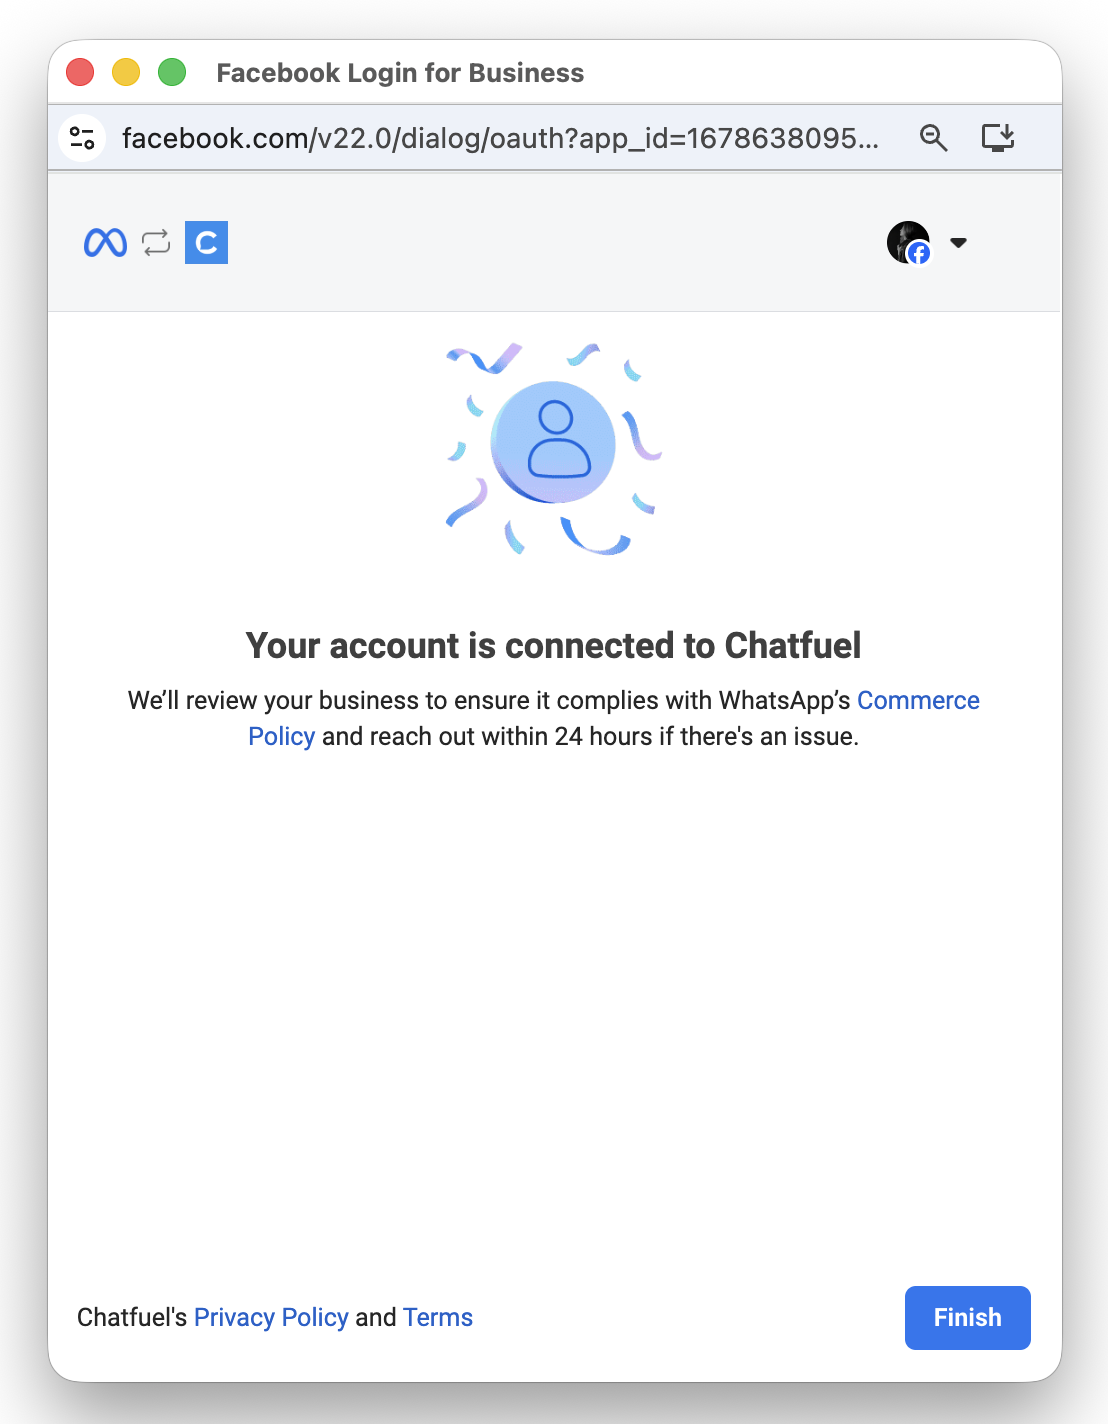
You’ll see “Your account is connected to Chatfuel” — the number now appears in Settings.
After the connection
The number shows up in Settings, and the client’s company is live. Two follow-ups, in this order:
- Start business verification today. Until the client’s Meta business is verified, the number is capped at 250 conversations a day — a cap you want lifted before ads start driving traffic, not after.
- Feed the AI. A connected number with an empty brain answers nothing — upload the client’s business info so the bot has something to say.
If the connection failed somewhere along the way — QR code errors, “number not associated with the selected business”, the portfolio missing from the popup — every known failure and its fix is in Common Meta access errors.
Where to next
Lift the 250-chats-a-day cap before the ads need the volume.
QR won’t scan, portfolio not visible, number “not associated” — symptom by symptom.
The messaging window that shapes everything you’ll send on this number.
Give the AI the client’s business, so the new channel has answers.