
Create a client company
Two minutes of clicking that starts every client engagement — and the onboarding rhythm to build around it
Every client you sign starts life in Chatfuel the same way: as a fresh company inside your agency’s workspace. The clicking takes two minutes; what matters is when you do it and what you do right after, so the new company doesn’t sit empty while you chase the client for access. This page is the doing — the reasoning behind one-client-one-company lives in Agency → clients model.
Before you create it
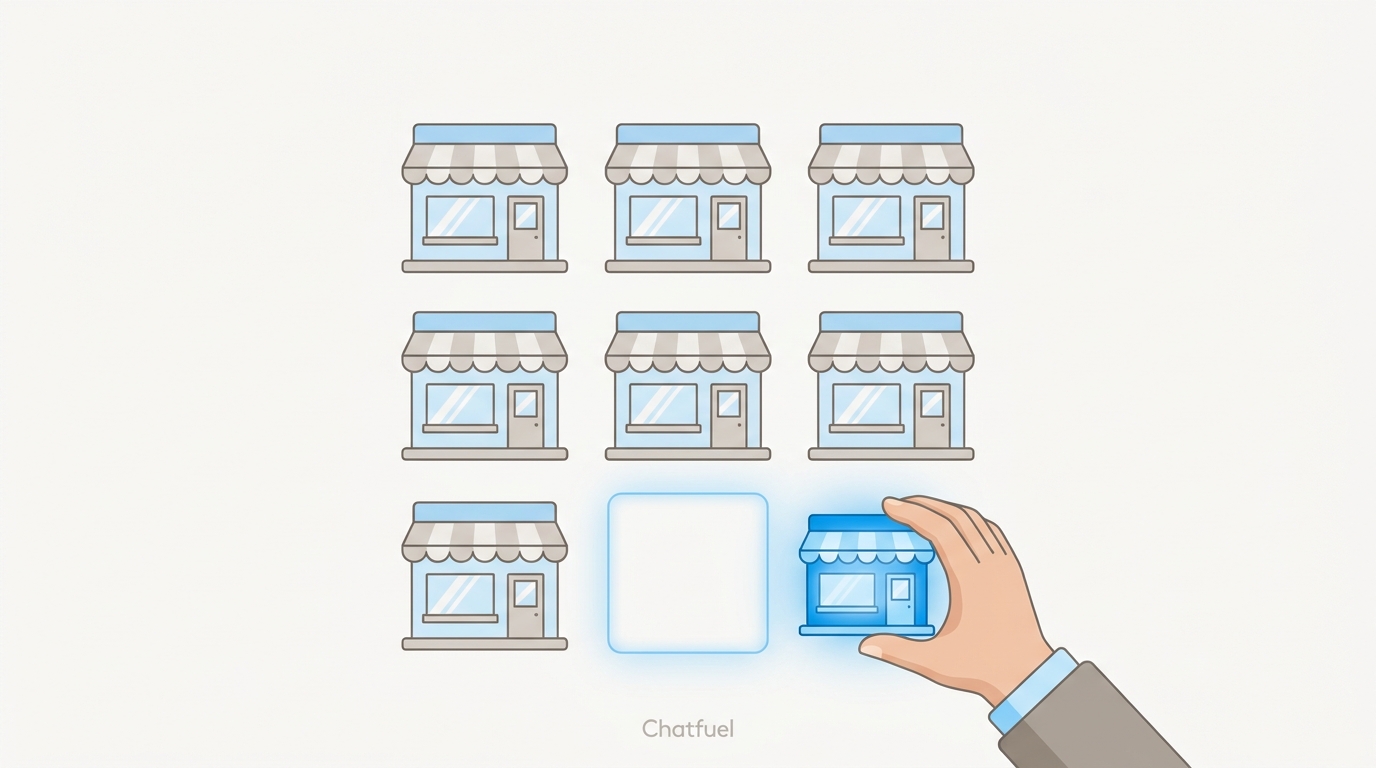
Do the access homework first. The new company is useless until the client’s channels are connected to it, and connecting them requires access to the client’s Meta assets — partner access to their portfolio, or a scheduled screen-share for the WhatsApp authorization. Agencies that create the company on signing day and collect access “sometime this week” end up with a workspace full of empty shells. Collect first, create second, connect immediately.
Creating the company
Open My Companies
Click your avatar in the navigation menu, then click My Companies. This is the list of every client company in your workspace.

You’re now inside the new company, and everything you see — bots, chats, leads, settings — belongs to this client alone. Switching back to another client is the same path: avatar → My Companies → pick one.
There's no limit — and no cost math
Companies are unlimited on agency plans, and usage limits are shared across your whole workspace rather than metered per company. Creating a company for a brand-new client costs nothing and commits you to nothing — see Agency → clients model for how the billing works.
Continue the selected playbook
The company is the client’s workspace, not an activated playbook. Continue with the selected scope in this order:
Open Coworker inside the new client company and use the prepared setup command:
Set up SAL for this client. Selected playbook: Consult to Booked (beauty-consult-to-booked). Industry: Beauty & Aesthetics. Market: United States. Preserve existing configuration and complete response, qualification, human handoff, and follow-ups.- Connect the required channel. For SAL’s paid inquiry path, start with the client’s WhatsApp connection. Connect Instagram only when the selected playbook uses it.
- Load the client’s business information. Give the AI only the approved offer, service, location, and operating context it needs.
- Define qualification and handoff. Agree on the fields, one-question-at-a-time order, destination, and person who owns the next step.
- Set operating behavior. Confirm 24/7 or after-hours coverage and the approved follow-up timing.
- Test before launch. Run the actual entry path, verify the human receives context, and record the first operating baseline.
Then invite the client’s sales reps as Agent, your builder as Editor, and start business verification before the client needs higher messaging volume. The roles guide and phone verification guide cover those platform steps.
Run this checklist enough times and client onboarding stops being a project and becomes a routine: approve scope, collect access, create the company, connect, configure, test, and establish the baseline.
Where to next
The access checklist to complete before this page — so the new company never sits empty.
The first thing to do inside the new company: connect the client’s number.
Who to invite into the new company, and with which role.
Why one client = one company, and how agency billing stays invisible to clients.